

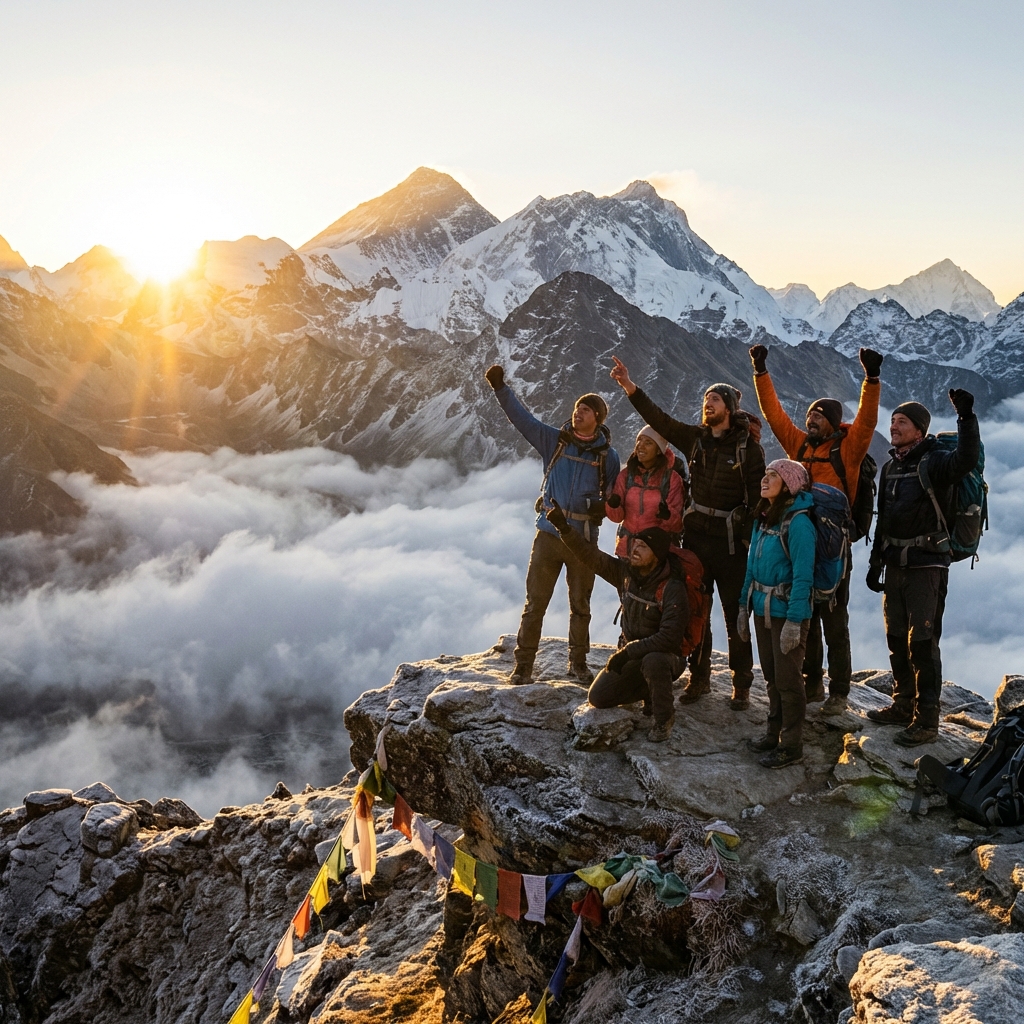
Most injuries on Nepal's trekking trails are mundane. Not dramatic altitude emergencies or dramatic falls — just the steady accumulation of friction, repetitive stress, and environmental exposure that afflicts any person who walks for 8 hours a day over two weeks of rough terrain.
Understanding how to prevent the common injuries, recognise them early, and treat them effectively in the field is one of the most practical investments you can make before any Nepal trek. This guide covers the injuries that HRA (Himalayan Rescue Association) physicians report most frequently — blisters, ankle sprains, knee pain, sunburn, gastrointestinal illness — and tells you when each injury requires professional medical attention and when field management is appropriate.
Blisters: Prevention is Everything
Blisters are the most common trekking injury worldwide and Nepal is no exception. They are also one of the most preventable. A blister that develops on day 2 of a 14-day Everest trek can become infected, debilitating, and potentially requiring evacuation if managed poorly.
Prevention
Boot fit is primary. Boots that are too tight compress the foot and create pressure points. Boots that are too loose allow the foot to slide inside the boot, creating friction. The ideal fit has a thumb's width of space at the toe, no heel slippage, and snug midfoot wrap.
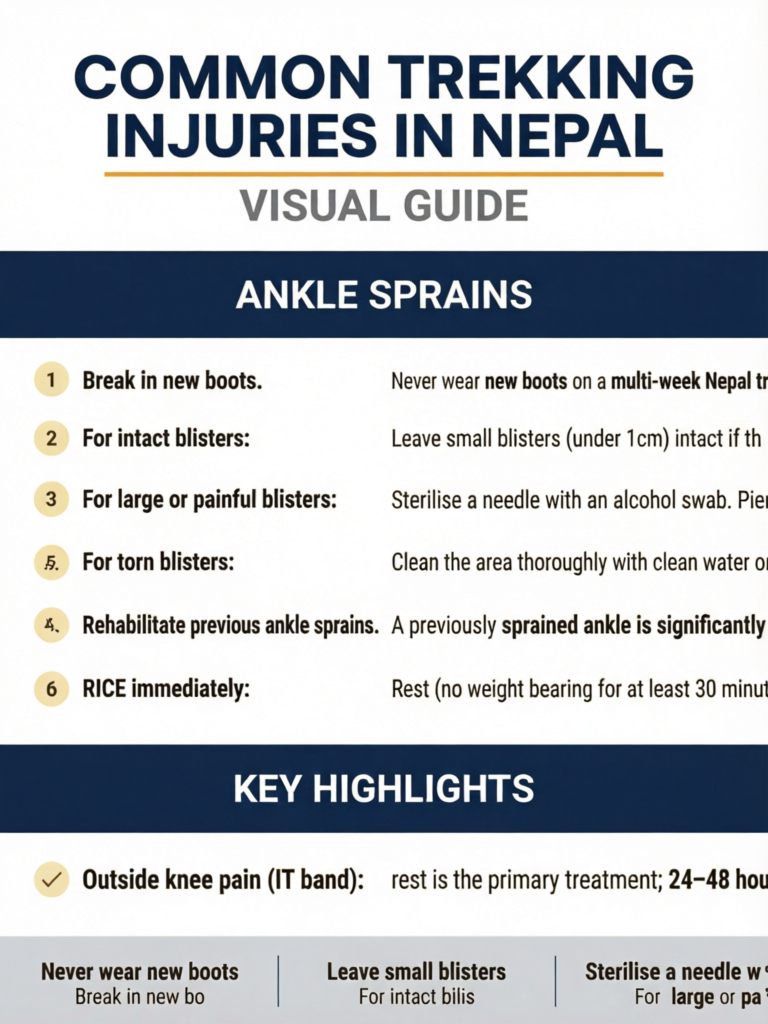
Break in new boots. Never wear new boots on a multi-week Nepal trek. Break them in over 6–8 weeks of regular walking at home, including at least 2–3 full-day hikes. The leather and cushioning need to conform to your foot before you ask them to perform for 8 hours on stone steps.
Socks matter enormously. Merino wool or synthetic-wool blend trekking socks wick moisture and resist the friction that causes blisters. Cotton socks retain moisture and cause blisters faster than any other factor. See the merino vs synthetic guide for sock recommendations.
Tape hotspots before they blister. If you feel a rubbing sensation on any part of your foot, address it immediately. Apply Leukotape (the gold standard), moleskin, or even standard medical tape over the area before a blister forms. A minute of taping takes 2 minutes off the trail; ignoring the hotspot can cost you a day.
Keep feet dry. Wet feet blister dramatically faster than dry ones. In river crossings or rain, accept that your feet will get wet but change to dry socks at the first opportunity. Carry 3–4 pairs of trekking socks to allow rotation and drying.
Treatment
For intact blisters: Leave small blisters (under 1cm) intact if they are not too painful. The overlying skin is a natural barrier against infection. Pad around the blister with doughnut-shaped moleskin to relieve pressure.
For large or painful blisters: Sterilise a needle with an alcohol swab. Pierce the blister at its base edge and allow fluid to drain. Do not remove the overlying skin — it provides protection. Apply antibiotic ointment, cover with a non-stick dressing, and tape securely.
For torn blisters: Clean the area thoroughly with clean water or saline. Apply antibiotic ointment (Neosporin or equivalent). Cover with a non-stick dressing and seal the edges with waterproof tape.
Signs of infection (seek medical care): Increasing redness spreading beyond the blister, warmth, pus, red streaks extending up the foot or leg, fever. An infected blister on a remote trail needs antibiotic treatment — a situation the medical facilities guide covers in detail.
Ankle Sprains
Ankle sprains are the second-most common lower extremity injury on Nepal's trails, caused by the irregular stone step surfaces, loose rock, and root-crossed forest paths. The classic mechanism is an inversion sprain — the foot rolls inward, overstretching the lateral ankle ligaments.
Prevention
Ankle-height boots provide meaningful protection. Low-cut trail runners allow full ankle mobility — excellent for performance but offering no lateral protection. Mid-cut or high-cut trekking boots reduce the range of inversion available, genuinely reducing sprain risk on irregular terrain.
Use trekking poles. The four-point stance created by poles allows you to catch minor slips before they become sprains. The proprioceptive warning from pole contact with the ground ahead of a step is particularly valuable on loose or slick terrain.
Rehabilitate previous ankle sprains. A previously sprained ankle is significantly more likely to re-sprain than an uninjured ankle due to residual ligament laxity and impaired proprioception. Single-leg balance exercises (balance on one foot for 30–60 seconds) rebuild proprioception. If you've had 2+ previous sprains, consider a supportive ankle brace for trekking.
Field Treatment: Ottawa Ankle Rules
The Ottawa Ankle Rules are a validated clinical tool for determining whether an ankle sprain requires X-ray (and therefore medical evaluation). In the field, use them to decide whether evacuation is necessary:
Evacuate and seek X-ray if:
- Bony tenderness along the posterior edge or tip of the lateral malleolus (outside ankle bone)
- Bony tenderness along the posterior edge or tip of the medial malleolus (inside ankle bone)
- Inability to bear weight for 4 steps immediately after the injury
If none of these criteria are met, the injury is likely a ligament sprain rather than a fracture and can be managed in the field.
RICE immediately: Rest (no weight bearing for at least 30 minutes), Ice (cold stream water in a plastic bag works), Compression (wrap firmly but not tightly with an elastic bandage), Elevate (prop foot above heart level during rest).
Return to trekking: A Grade 1 sprain (stretching without tearing) can often be walked on the following day with taping support. A Grade 2 (partial tear) needs 24–48 hours rest minimum. A Grade 3 (complete tear) requires evacuation and surgical assessment.
Knee Pain
Covered extensively in the knee protection guide, the key field points are:
- Stop at first significant pain and assess the nature and location
- Front knee pain (patellofemoral): manageable with poles, compression sleeve, modified descent technique
- Outside knee pain (IT band): rest is the primary treatment; 24–48 hours often resolves it
- Inside knee pain or instability suggesting ligament injury: evacuate for medical assessment
- Ibuprofen 400–600mg (with food) reduces inflammation; do not use to continue at the same pace
Sunburn and Snow Blindness
Sunburn at Altitude
UV radiation increases approximately 10–12% for every 1,000 metres of elevation gain. At 5,000m, you are receiving roughly twice the UV radiation of sea level. Snow and glacier surfaces reflect up to 80% of UV — meaning you receive UV from both above and below simultaneously.
Prevention: Apply SPF 50+ sunscreen to all exposed skin every 2 hours (more frequently if sweating). Use a lip balm with SPF 30. Wear a brimmed hat and a sun-protective buff for the neck and lower face. Long-sleeve base layers provide better protection than sunscreen alone on high-altitude snowfields.
Treatment: Sunburn at altitude behaves the same as at sea level — cool the skin, apply aloe vera or moisturiser, take ibuprofen for pain and inflammation, avoid further sun exposure while healing.
Snow Blindness (Photokeratitis)
Snow blindness is essentially sunburn of the cornea, caused by UV exposure from reflective snow and ice surfaces. It is a delayed injury — symptoms typically appear 6–12 hours after exposure, meaning you may not realise you are damaging your eyes until evening or night.
Symptoms: Intense eye pain, sensitivity to light, excessive tearing, a sensation of sand in the eyes. In severe cases, temporary vision reduction.
Prevention: Category 4 sunglasses (or glacier goggles) are essential above snowlines. Standard fashion sunglasses are inadequate — even dark lenses without adequate UV filtering allow UV through from the sides. Side shields on glacier goggles eliminate lateral UV exposure entirely.
Treatment: Move to a dark room, apply cool wet cloths to closed eyes, take oral pain relief. Symptoms typically resolve within 24–48 hours. Do not rub the eyes. If symptoms do not improve within 24 hours, seek medical attention.
Gastrointestinal Illness
GI illness — typically manifesting as diarrhoea, nausea, vomiting, or some combination — is extremely common on Nepal treks. Studies suggest 30–40% of trekkers experience GI symptoms at some point during a trek.
Common Causes
Traveller's diarrhoea (bacterial/viral): The most common cause. Acquired from contaminated food or water. Onset within 24–72 hours of exposure. Usually self-limiting within 3–5 days.
Giardiasis: A parasitic infection with a longer incubation period (1–3 weeks). Characterised by foul-smelling diarrhoea, bloating, and belching. Requires treatment with metronidazole (Flagyl) or tinidazole.
Cryptosporidiosis: More resistant to standard water purification than Giardia. Causes watery diarrhoea. Requires specific treatment.
Altitude-related nausea: Many trekkers experience nausea as a component of AMS. This is distinct from infectious GI illness and resolves with acclimatisation rather than antibiotics.
Prevention
Water purification is non-negotiable. Use iodine tablets, chlorine dioxide tablets, or a SteriPen UV purifier. Boiling is effective but resource-intensive on a trek. Do not drink directly from streams regardless of how clean they look — the whole of Nepal's trail system is upstream.
Be selective about raw foods. Salads and fresh vegetables may be washed in unfiltered water. At higher altitude lodges, avoid salads entirely. Cooked foods that are served hot are generally safe.
Hand hygiene before every meal. The trek hygiene guide covers this in detail. Carry alcohol gel and use it consistently, particularly before eating.
Treatment
Oral rehydration: The primary treatment for diarrhoea is fluid replacement. Oral Rehydration Salts (ORS) are available at most lodges and pharmacies — ideally you carry your own sachets. For every episode of diarrhoea, drink an ORS solution.
BRAT diet: Bananas, rice, applesauce, toast. Bland, easily digestible foods that reduce bowel stimulation while maintaining some caloric intake.
Antibiotics: Ciprofloxacin (500mg twice daily for 3 days) is appropriate for severe traveller's diarrhoea with fever or blood in stool. Carry a course in your medical kit and use it for the indicated conditions only — overuse contributes to antibiotic resistance.
When to evacuate for GI illness:
- Bloody diarrhoea with fever
- Signs of significant dehydration (dark urine, confusion, rapid heart rate)
- Inability to retain any fluids for more than 24 hours
- Worsening symptoms despite oral rehydration
Evacuation Decisions: When to Go Down
The central principle of mountain medicine is that descent is the most effective treatment for altitude-related illness — but many injuries also warrant evacuation from the trail regardless of altitude.
Evacuate for:
- Any AMS progressing to HACE (confusion, loss of coordination, change in consciousness)
- Any AMS progressing to HAPE (difficulty breathing at rest, wet cough, cyanosis)
- Suspected fracture (Ottawa Ankle Rules positive for ankle; any suspected spine, pelvis, or femur fracture)
- Significant chest pain
- Stroke symptoms (facial droop, arm weakness, slurred speech)
- Dehydration with inability to retain fluids
- Infected wounds not responding to antibiotics
- Complete inability to bear weight
Helicopter evacuation is available throughout Nepal's major trekking regions. Your travel insurance emergency line can coordinate. The nearest helicopter landing zones from major trek segments are known by all guides — ask them to locate the nearest one as standard practice when entering remote sections.